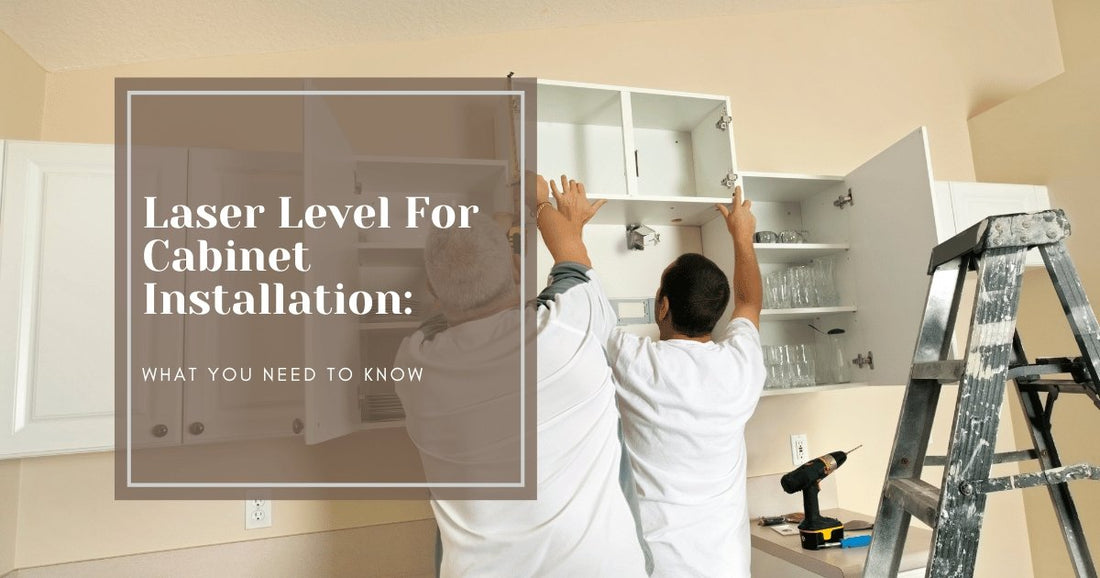
Well, well, well, look who's decided to tackle the art of installing cabinets and shelves! You've made a fantastic choice, my friend. And you know what they say, "measure twice, cut once." To ensure you hit the nail on the head, using a laser level is your best bet.
In this handy guide, we'll walk you through the ins and outs of using a laser level for installing cabinets and shelves. We'll cover everything from leveling and measuring to securing your projects with precision and ease. So let's get this show on the road!
Picking the Right Laser Level
Types of Laser Levels
Before we dive into the nitty-gritty, let's talk about the right kind of laser level for the job. There are a few types to choose from:
- Dot Laser Levels: These project a single dot on a surface, perfect for pinpoint accuracy.
- Line Laser Levels: These project horizontal or vertical lines, ideal for aligning cabinets and shelves.
- Rotary Laser Levels: These project a 360-degree beam, great for large-scale projects.
For installing cabinets and shelves, a line laser level is your best bet.
Features to Consider
When shopping for a laser level, consider these features:
- Self-Leveling: A self-leveling feature ensures the laser remains level even if the device is slightly tilted, saving you time and effort.
- Accuracy: Look for a laser level with high accuracy (usually within 1/16 inch per 30 feet) to make sure your cabinets and shelves are perfectly aligned.
- Indoor vs. Outdoor: Some laser levels work better indoors, while others can handle both indoor and outdoor use. Make sure to choose one that suits your needs.
Getting Started: Setup and Leveling
Laser Level Setup
- Find a stable surface: Set up your laser level on a tripod or a flat, stable surface near your project area.
- Turn it on: Power up the laser level, and let the self-leveling feature kick in.
- Adjust the beam: If your laser level doesn't have a self-leveling feature, manually adjust the beam using the built-in bubble vials until it's level.
Leveling Cabinets and Shelves
- Mark the wall: Use a tape measure to determine the height of your cabinets or shelves, and mark the wall where you want the top or bottom edge to be.
- Align the laser: Position the laser level so the beam is parallel to the floor and crosses the mark on the wall. This will create a level line for you to follow.
- Double-check: Use a traditional level to double-check the laser line's accuracy. If everything looks good, you're ready to start installing!
Measuring and Marking
Now that your laser level is set up and you've got a level line, it's time to measure and mark the locations for your cabinets or shelves.
- Measure the width: Measure the width of your cabinets or shelves, and note the dimensions. This will help you determine the spacing between them and ensure they fit perfectly in your space. 2. Mark stud locations: Use a stud finder to locate the studs behind the wall. Mark their positions on the wall, ensuring they align with the laser level's line.
- Align the cabinets or shelves: Hold your cabinets or shelves against the wall, aligning their top or bottom edge with the laser line. Make sure they're level and centered over the studs.
- Mark drilling points: While holding the cabinets or shelves in place, mark the drilling points for brackets or mounting hardware on the wall. Double-check the marks' alignment with the laser line before moving on.
Installing Cabinets and Shelves
With your measurements and marks in place, you're ready to install your cabinets or shelves.
- Drill pilot holes: Using a drill, make pilot holes in the wall at the marked drilling points. Be sure to use the appropriate drill bit size for your wall anchors or screws.
- Attach brackets or hardware: Secure the mounting hardware or brackets to the wall using the appropriate wall anchors or screws. Double-check that they're level and aligned with the laser line.
- Mount the cabinets or shelves: Place your cabinets or shelves onto the installed hardware or brackets. Make any necessary adjustments to ensure they're level and secure.
FAQs
Q: How do I use a laser level on a curved wall? A: For curved walls, use a flexible straight edge or a piece of string to create a level line that follows the curve. Align the laser level with the flexible straight edge or string to project the curved line onto the wall.
Q: Can I use a laser level to install floating shelves? A: Absolutely! Use the laser level to project a level line on the wall, then follow the same steps for measuring, marking, and installing as you would for traditional shelves.
Q: What should I do if my laser level isn't self-leveling? A: If your laser level doesn't have a self-leveling feature, use the built-in bubble vials to manually adjust the beam until it's level. Alternatively, you can upgrade to a self-leveling laser level for added convenience.
Q: How do I ensure my cabinets and shelves are securely attached to the wall? A: Always use the appropriate wall anchors or screws for your wall type (drywall, plaster, brick, etc.), and make sure to install the mounting hardware or brackets into the wall studs for added strength and stability.
Q: Can I use a laser level outdoors for other projects? A: Some laser levels are suitable for both indoor and outdoor use. If your laser level is designed for outdoor use, you can use it for various projects such as landscaping, decking, and fencing.
Conclusion
Installing cabinets and shelves can be a breeze with the right tools and techniques. By using a laser level, you can ensure precise alignment, leveling, and spacing for a professional-looking result. Follow this guide to set up your laser level, measure, mark, and install your cabinets and shelves like a pro. Happy DIY-ing!

